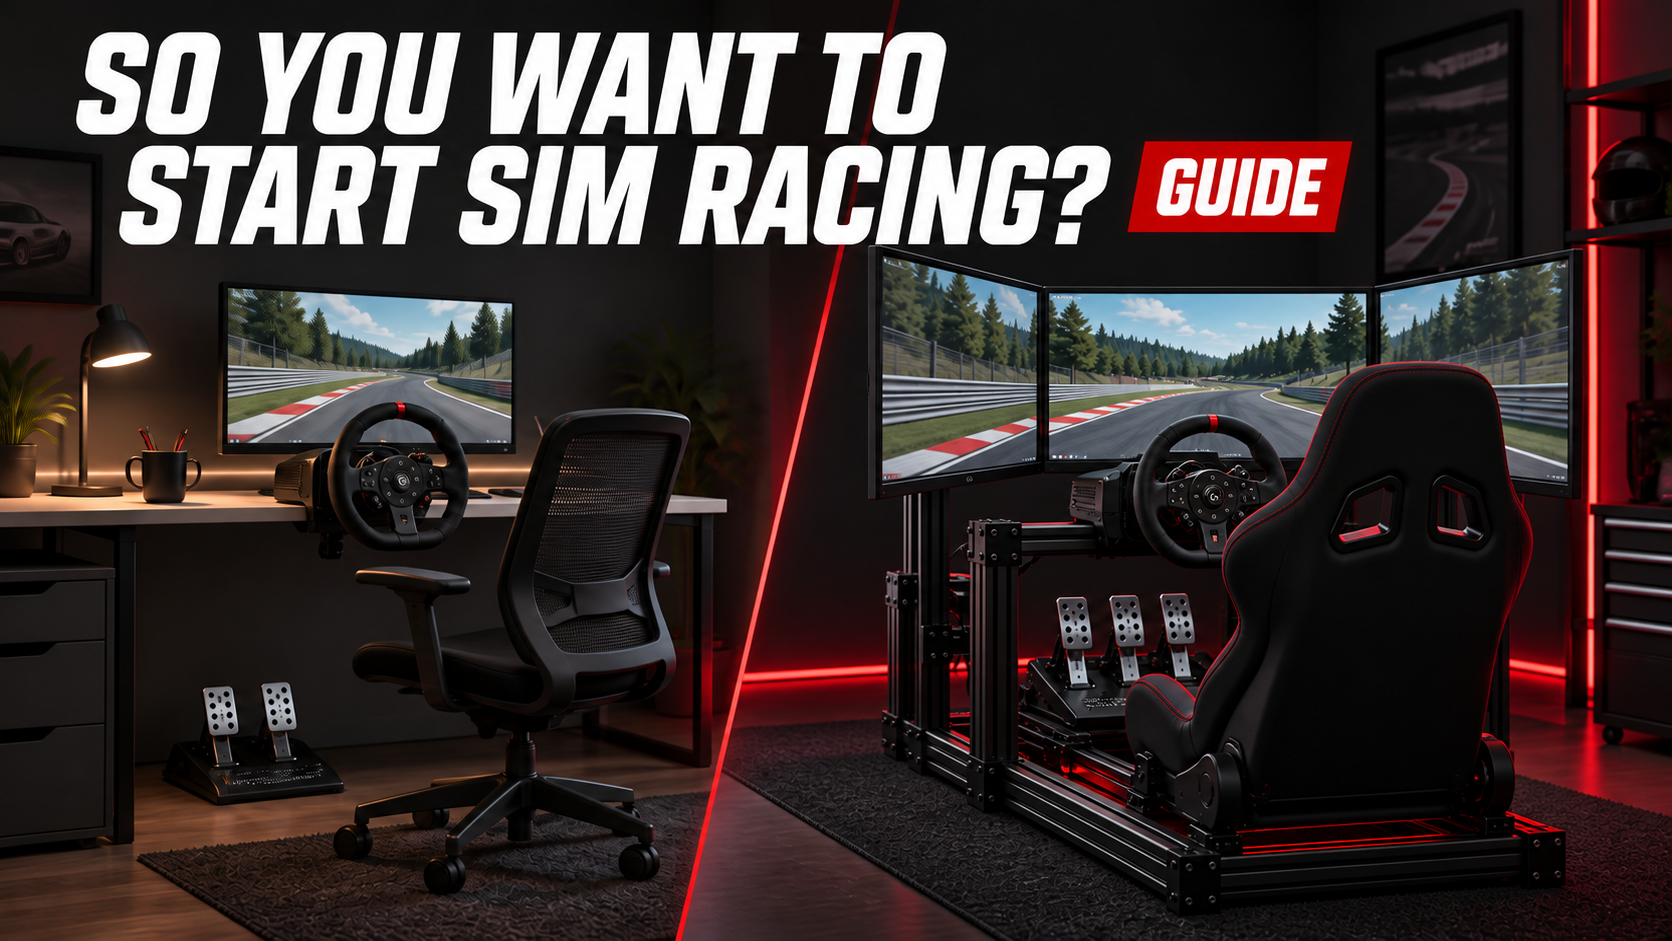
Guides / Getting Started
So You Want to Start Sim Racing? Read This First.
Choose compatible gear, build a balanced setup and make your first laps count.
Explore all guides →Sim racing can look like a hobby where you need an expensive wheelbase, a dedicated cockpit, triple monitors, and a room full of equipment before you can enjoy it.
You don’t.
A good starting setup is one that fits your budget, works with the games you want to play, and is comfortable enough that you actually want to use it. You can build from there once you understand what matters to you.
This guide explains the decisions I would work through before buying anything: platform, wheelbase, pedals, cockpit, and displays. The aim is to help you put together a balanced setup and avoid spending money on equipment that doesn’t suit your needs.
Already planning a build? Explore my Sim Rig Builder, then check available discounts and affiliate offers before ordering.
Some linked offers may earn me a commission at no extra cost to you. An affiliate link does not necessarily include a discount.
THE STARTING POINT
A sensible first setup
Choose your platform and game first. Add a compatible wheel-and-pedal package, secure it to a stable desk or stand, and use a screen you already own. Leave room in the budget for mounting and comfort.
Buy now: the controls and support needed to drive comfortably. Wait: multiple steering wheels, motion, button boxes and premium displays until you know what problem they would solve.
Start with the racing you want to do
Before choosing a wheel, decide what you want to drive and where you want to race.
Someone who enjoys occasional road-car laps has different needs from someone planning regular online league racing. Rally, drifting, GT racing, and formula cars can also influence your choice of steering wheel and accessories.
That doesn’t mean you need a separate setup for every discipline. It means your first purchases should support the driving you expect to do most.
Ask yourself three questions:
- Which games will I spend the most time playing?
- What equipment do I already own that I can use?
- How much space and money can I comfortably commit?
Those answers are more useful than copying someone else’s finished rig.
Three ways to approach your first rig
| Your situation | Start here | Check before buying |
|---|---|---|
| Trying the hobby | Existing console or PC, single screen, compatible wheel and pedals. | Desk clamp clearance, a secure chair and somewhere to brace the pedals. |
| Shared room | A wheel stand or folding cockpit you can move when finished. | Stored dimensions, total weight and how long setup takes each time. |
| Dedicated space | A permanent cockpit with a comfortable seat and suitable mounting. | The complete footprint, seat brackets, screen stand and access around the rig. |
These are starting approaches, not fixed shopping lists. A permanent rig can use modest controls, and an expensive wheelbase does not make a desk setup more comfortable.
PC or console?
If you already own a console and enjoy its racing games, starting there can make sense. You can use your existing screen and focus your budget on compatible controls.
A PC gives you more flexibility to combine hardware and expand your setup. That flexibility can also bring more configuration: drivers, firmware, graphics settings, and individual game support.
The important part is checking the complete combination, not just whether a product says “compatible.”
For example, Fanatec handles PlayStation compatibility through a licensed wheelbase, while Xbox compatibility depends on an Xbox-licensed steering wheel. That is specific to its ecosystem; don’t assume every manufacturer works the same way. Fanatec compatibility guidance
Check the exact wheelbase, wheel, pedals, accessories, and games before buying. A USB connector by itself doesn’t establish console compatibility.
Check compatibility as a chain
Write down the exact platform, game, wheelbase, wheel and pedal set you intend to use. Confirm every connection before ordering. A steering wheel’s quick release establishes how it attaches; it does not guarantee that its buttons, display or paddles will work on another manufacturer’s base.
On PC, separate USB devices can be useful where the simulator supports them. On console, start with the manufacturer’s supported combination. Do not assume an adapter will preserve every feature or work in every game.
Also check the software you actually want to race. A wheel being recognized by the platform is only the first step; game support, available controls and force-feedback behavior can differ.
Choosing your first wheelbase
The wheelbase creates the steering forces you feel through the wheel. It can communicate changes in steering load and the effects that the simulator sends to it.
Gear-driven and belt-driven systems can still provide an enjoyable starting point, particularly if you find a suitable used package. Direct drive connects the steering wheel more directly to the motor and is now an option within starter-oriented bundles, too.
Current examples include the MOZA R3 Xbox/PC bundle and the PlayStation/PC version of the Thrustmaster T598. These illustrate why you should compare the exact platform version and bundle contents rather than relying on the product family name. MOZA R3, Thrustmaster T598
I wouldn’t choose a first wheelbase purely by its maximum torque rating. Consider how it mounts, the available steering wheels, software, support, and the total package cost.
A stronger wheelbase also needs appropriate mounting. Spending most of your budget on the motor while leaving it attached to a desk that moves under load is an unbalanced purchase.
Use a comfortable force level and follow the manufacturer’s setup instructions. You don’t need to run a wheelbase at maximum strength to get useful feedback.
What those starter options look like
The examples below show two different platform choices. They are not a universal ranking, and a current bundle may differ from the equipment shown in my older videos.
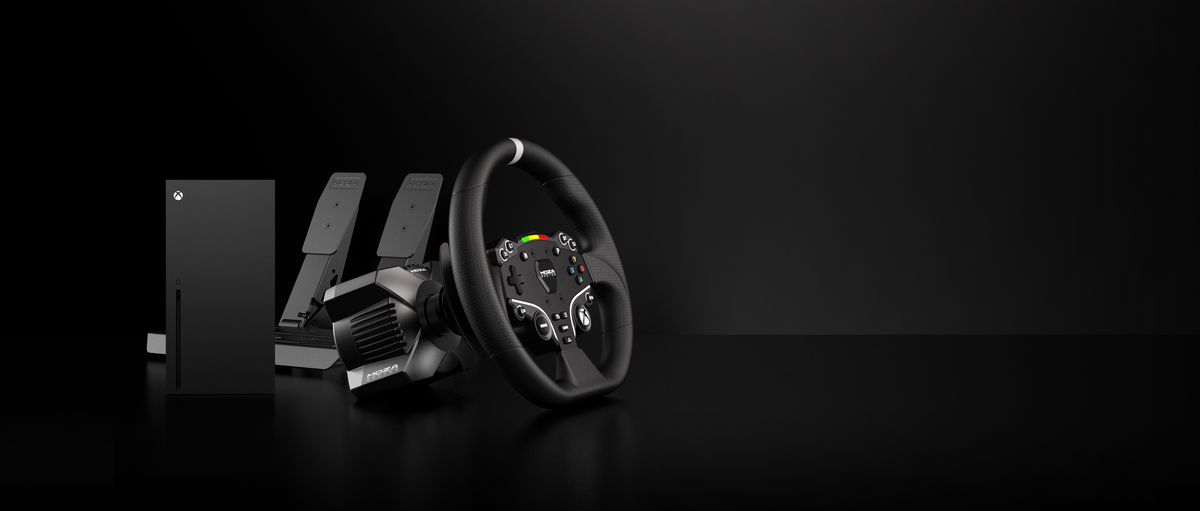
XBOX / PC EXAMPLE
MOZA R3 Xbox bundle
A compact direct-drive package with the Xbox-compatible wheel and SR-P Lite pedals. It illustrates the appeal of choosing a supported bundle rather than assembling several uncertain connections.
What to notice: the base, rim and pedals are separate pieces. Plan how each will stay in place, and check the exact box contents before buying additional mounts or accessories.
Affiliate link · No discount code currently listed.
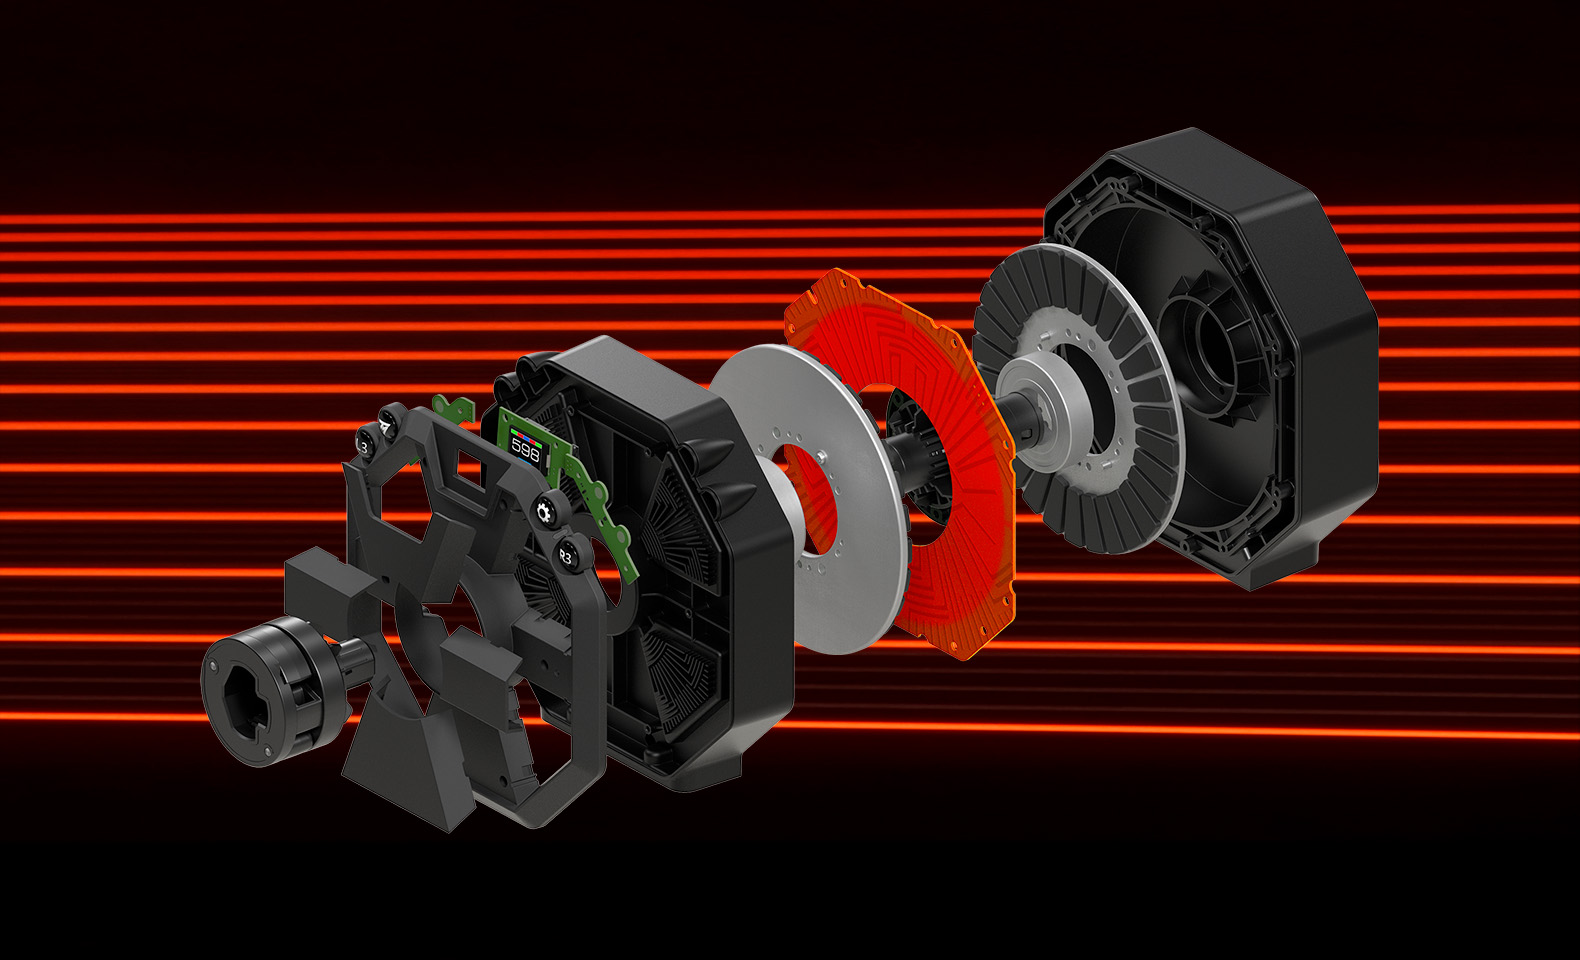
PLAYSTATION / PC EXAMPLE
Thrustmaster T598
The PlayStation/PC version is another example of choosing around your platform. Check the selected regional package, included pedals and mounting accessories; do not buy by the T598 name alone.
This is a manufacturer-specification example, rather than a claim that I tested it for this guide.
Official product link · No discount code included.
View official T598 details ↗Think beyond peak torque
A larger or heavier rim changes how a base feels at your hands. Quick-release cost, replacement rims, desk clamps and software support can matter more to a first purchase than a small difference in the maximum torque figure.
Begin with conservative manufacturer-recommended settings. If every heavy corner feels equally strong, check for force-feedback clipping and reduce the appropriate setting rather than automatically adding more gain. Make one change at a time so you can tell whether useful detail improves.
Don’t overlook the pedals
Pedals deserve as much thought as the steering wheel.
A basic pedal set can get you started. A load-cell brake measures applied force, allowing you to configure braking around pressure rather than relying only on pedal travel. Whether that feels natural depends on the pedal’s mechanics, adjustment, and mounting.
A very stiff brake isn’t automatically better. If pressing it pushes your chair backwards or lifts the pedal tray, the first problem to solve is stability.
Look for an arrangement that lets you repeat the same inputs comfortably. Seat position, pedal angle, and resistance all contribute to that.
You also don’t need to buy every accessory immediately. A clutch pedal, separate shifter, and handbrake should follow the cars and games you use. Paddle shifters may cover everything you need at the beginning.
Pedal sensor and pedal feel are different things
A travel-based pedal measures how far it moves. A load cell measures force. Springs, elastomers, leverage and adjustment determine the resistance you feel, so two load-cell brakes can feel very different.
Calibrate the brake to a pressure you can repeat without lifting yourself out of the seat. Check that the software reaches full braking when you intend it to, releases fully when your foot comes off, and does not respond to an accidental resting input.
For your first setup, stability comes before extreme resistance. A comfortable pedal you can repeat is more useful than a stiff pedal you are constantly fighting. Active pedals and hydraulic systems are optional upgrades, not prerequisites for learning to brake.
Your cockpit is part of the control system
A cockpit keeps your seat, wheel, and pedals in a consistent relationship. That sounds basic, but it has a large effect on how usable the equipment feels.
There are several sensible ways to begin:
- A desk setup: practical when space is shared, provided the wheel, pedals, and chair stay secure.
- A wheel stand: useful when you want a dedicated mount without a full cockpit.
- A folding cockpit: worth considering when the setup needs to move or store away.
- A permanent cockpit: appropriate when you have the space and want more mounting flexibility.
Check adjustment and comfort as carefully as strength. Can you reach the pedals without stretching? Are your shoulders relaxed? Can you get in and out easily?
If you intend to upgrade, check mounting support for those likely purchases. You don’t need to buy for every hypothetical future accessory, but avoiding an obvious mounting dead end can save frustration.
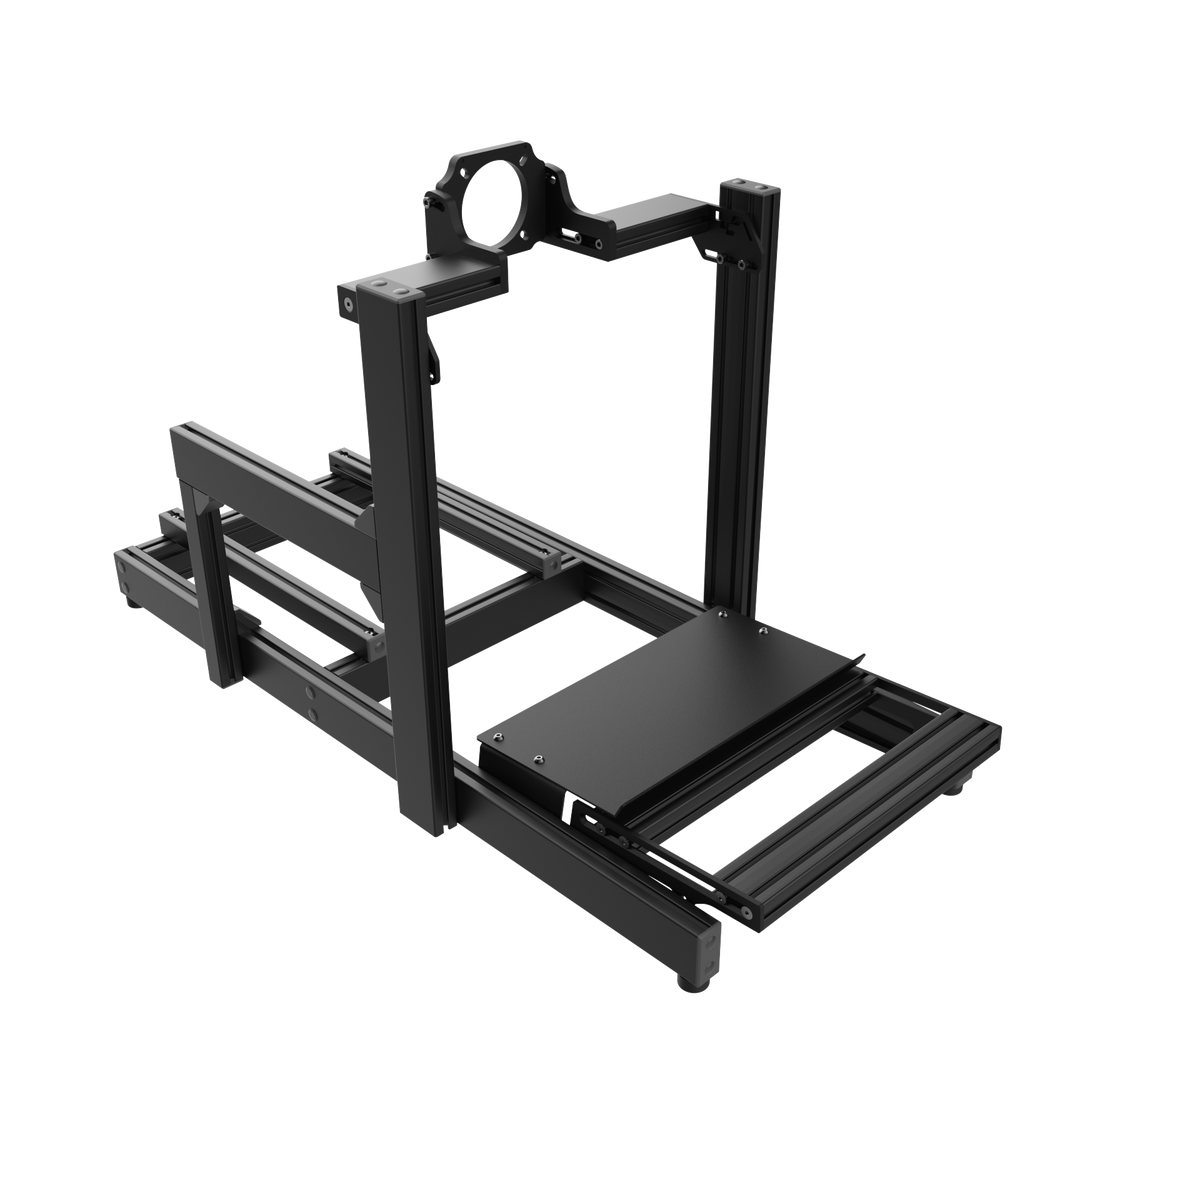
PERMANENT COCKPIT EXAMPLE
Advanced SimRacing ASR 3
An aluminum-profile chassis makes the mounting structure easy to understand: a base for the seat and pedals, upright supports, and a wheelbase mount. The ASR 3 has different mounting options, so select the one suited to your exact controls.
Budget separately for the seat and anything else absent from your chosen package. A chassis photograph is not a complete shopping list.
Exclusions apply. Offers are not combined unless stated otherwise; check the eligible discount at checkout. Listed offer checked against my discount directory September 13, 2026.
Measure the space you will actually use
Mark out the footprint on the floor, then allow for the seat, screen stand, cables and getting in and out. Triple screens can extend far beyond the chassis. A folding setup also needs a realistic storage location.
Adjust the seat and pedals together. You should be able to brake firmly while supported by the seat, keep some bend in your legs, and turn the wheel without reaching your shoulders forward. Avoid buying a seat solely because it looks like one from a race car.
Single screen, triples, or VR?
Start with the display you can support comfortably.
A single monitor or television can be enough to enjoy sim racing and learn. Position it sensibly and take time to configure the view before assuming you need something larger.
Triple monitors can provide a wider view, but require more room, a suitable mounting arrangement, and support from your simulator and PC. Ultrawide monitors offer another approach, although the usable aspect ratio still depends on your platform and game.
VR provides a different sense of presence and depth, but headset comfort, visual clarity, and computer performance all matter. Try it before committing if possible.
For example, iRacing provides separate guidance for triple-screen configuration and VR requirements. Check the equivalent documentation for your chosen simulator instead of treating minimum PC requirements as a promise of high-resolution performance. Triple-monitor setup, VR requirements
There is no requirement to progress from single screen to triples to VR. They are different choices with different compromises.
Set the view before shopping for more screen
Use your simulator’s field-of-view calculator or setup guidance with the actual screen size and viewing distance. Horizontal and vertical FOV values are not interchangeable. A very wide view on one screen may show more dashboard while making distance and scale harder to judge.
With triples, the centre panel belongs in front of the driving position, with the side panels arranged consistently around it. Check screen angle, bezel settings and the simulator’s multi-monitor support. Three displays plugged into a PC do not automatically produce a correctly projected cockpit view.
When judging performance, drive in demanding conditions with other cars as well as doing an empty-track lap. Consistent delivery matters; do not build a display plan around a frame-rate number recorded in the easiest scenario.
Budget for the complete setup
The advertised wheel-and-pedal price is only part of the picture.
Include the mount or cockpit, seat where necessary, screen support, any required adapters, software, shipping, and taxes. If your chosen simulator uses subscriptions or separately purchased content, include that in your running costs.
Compare complete, delivered setups in your own currency. A cheaper product can become the more expensive option after adding the parts needed to use it.
Discounts are useful once you have chosen suitable equipment. They shouldn’t be the reason to buy equipment that doesn’t fit your needs.
Price the complete basket
- Controls: base, rim, pedals, quick release and any required connection hardware.
- Support: desk clamp, stand or cockpit, plus seat brackets and a seat where needed.
- Display: screen, mounting, suitable cables and any PC upgrade required to run your chosen view.
- Running costs: software, content, subscriptions and normal wear items.
- Delivered total: shipping, tax, currency conversion and any applicable import costs.
Keep a small allowance for the unglamorous parts: a missing bracket or unsuitable cable can stop you using an otherwise complete rig. Compare your final basket, not just the headline bundle price.
Buying used?
Ask for the exact model and a demonstration of the controls working. Check for missing power supplies, clamps, cables, quick releases and mounting hardware. Look for connector damage, excessive play and controls that do not return or register consistently. Check the manufacturer’s warranty-transfer terms rather than assuming the original coverage follows the hardware.
Spend time setting it up
Once everything arrives, resist the urge to change every setting at once.
Adjust your seating position, calibrate the controls, set a sensible view, and begin with a manageable level of force feedback. Use one familiar car and track while you learn how the setup behaves.
If you change something, give yourself time to judge it. Constantly switching profiles and hardware settings can make it difficult to tell what actually helped.
An upgrade should solve a problem you can describe: a moving pedal tray, an uncomfortable seat, limited visibility, or controls that don’t suit the driving you do.
Your first-session checklist
- Install the manufacturer’s required software and follow its firmware instructions.
- Secure the seat, controls and cables, then adjust your driving position.
- Confirm steering direction, pedal axes, full travel and button assignments in the game.
- Set a comfortable force level and configure the view for your actual screen placement.
- Drive a familiar car on one track. Check braking consistency before chasing lap times.
- Save a known-good configuration before experimenting with changes.
Start with practice sessions while learning starts, braking points and how the car behaves off the racing line. Confidence comes from repeatable laps and controlled inputs, not from buying every accessory at once.
Where I would begin
I would aim for a stable, comfortable setup with compatible controls and a display I can run well. Then I would drive it.
You can learn a great deal before needing premium pedals, multiple steering wheels, active hardware, or motion. There is plenty of enjoyment in the hobby before reaching any of those stages.
Use my written reviews when you want a closer look at specific equipment, the Sim Rig Builder to plan your setup, and the discount directory to check available offers.
Watch the original video