
Review disclosure: Slip-Angle supplied this kit free of charge for review, and I retained it. This written version is based on my original July 2024 video, including its spoken testing observations. The product link goes directly to the manufacturer; it is not an affiliate link.
I went into the Slip-Angle review curious about whether putting a sim rig on springs would make a worthwhile difference. Once installed and tuned, the kit surprised me. It added a clean, physical layer to the driving experience, and I found myself wanting the same setup on my main rig.
My verdict at a glance
Best suited to: Owners of a compatible profile cockpit who want a complete bass-shaker package and are willing to spend time fitting and tuning it.
What stood out: The quality of the vibration effects, useful front-to-rear separation, reduced unwanted noise in my setup and the complete supplied kit.
What to consider: Installation time, space beside the rig, effect tuning and the difficulty I had distinguishing all four corners individually.
What I installed and where
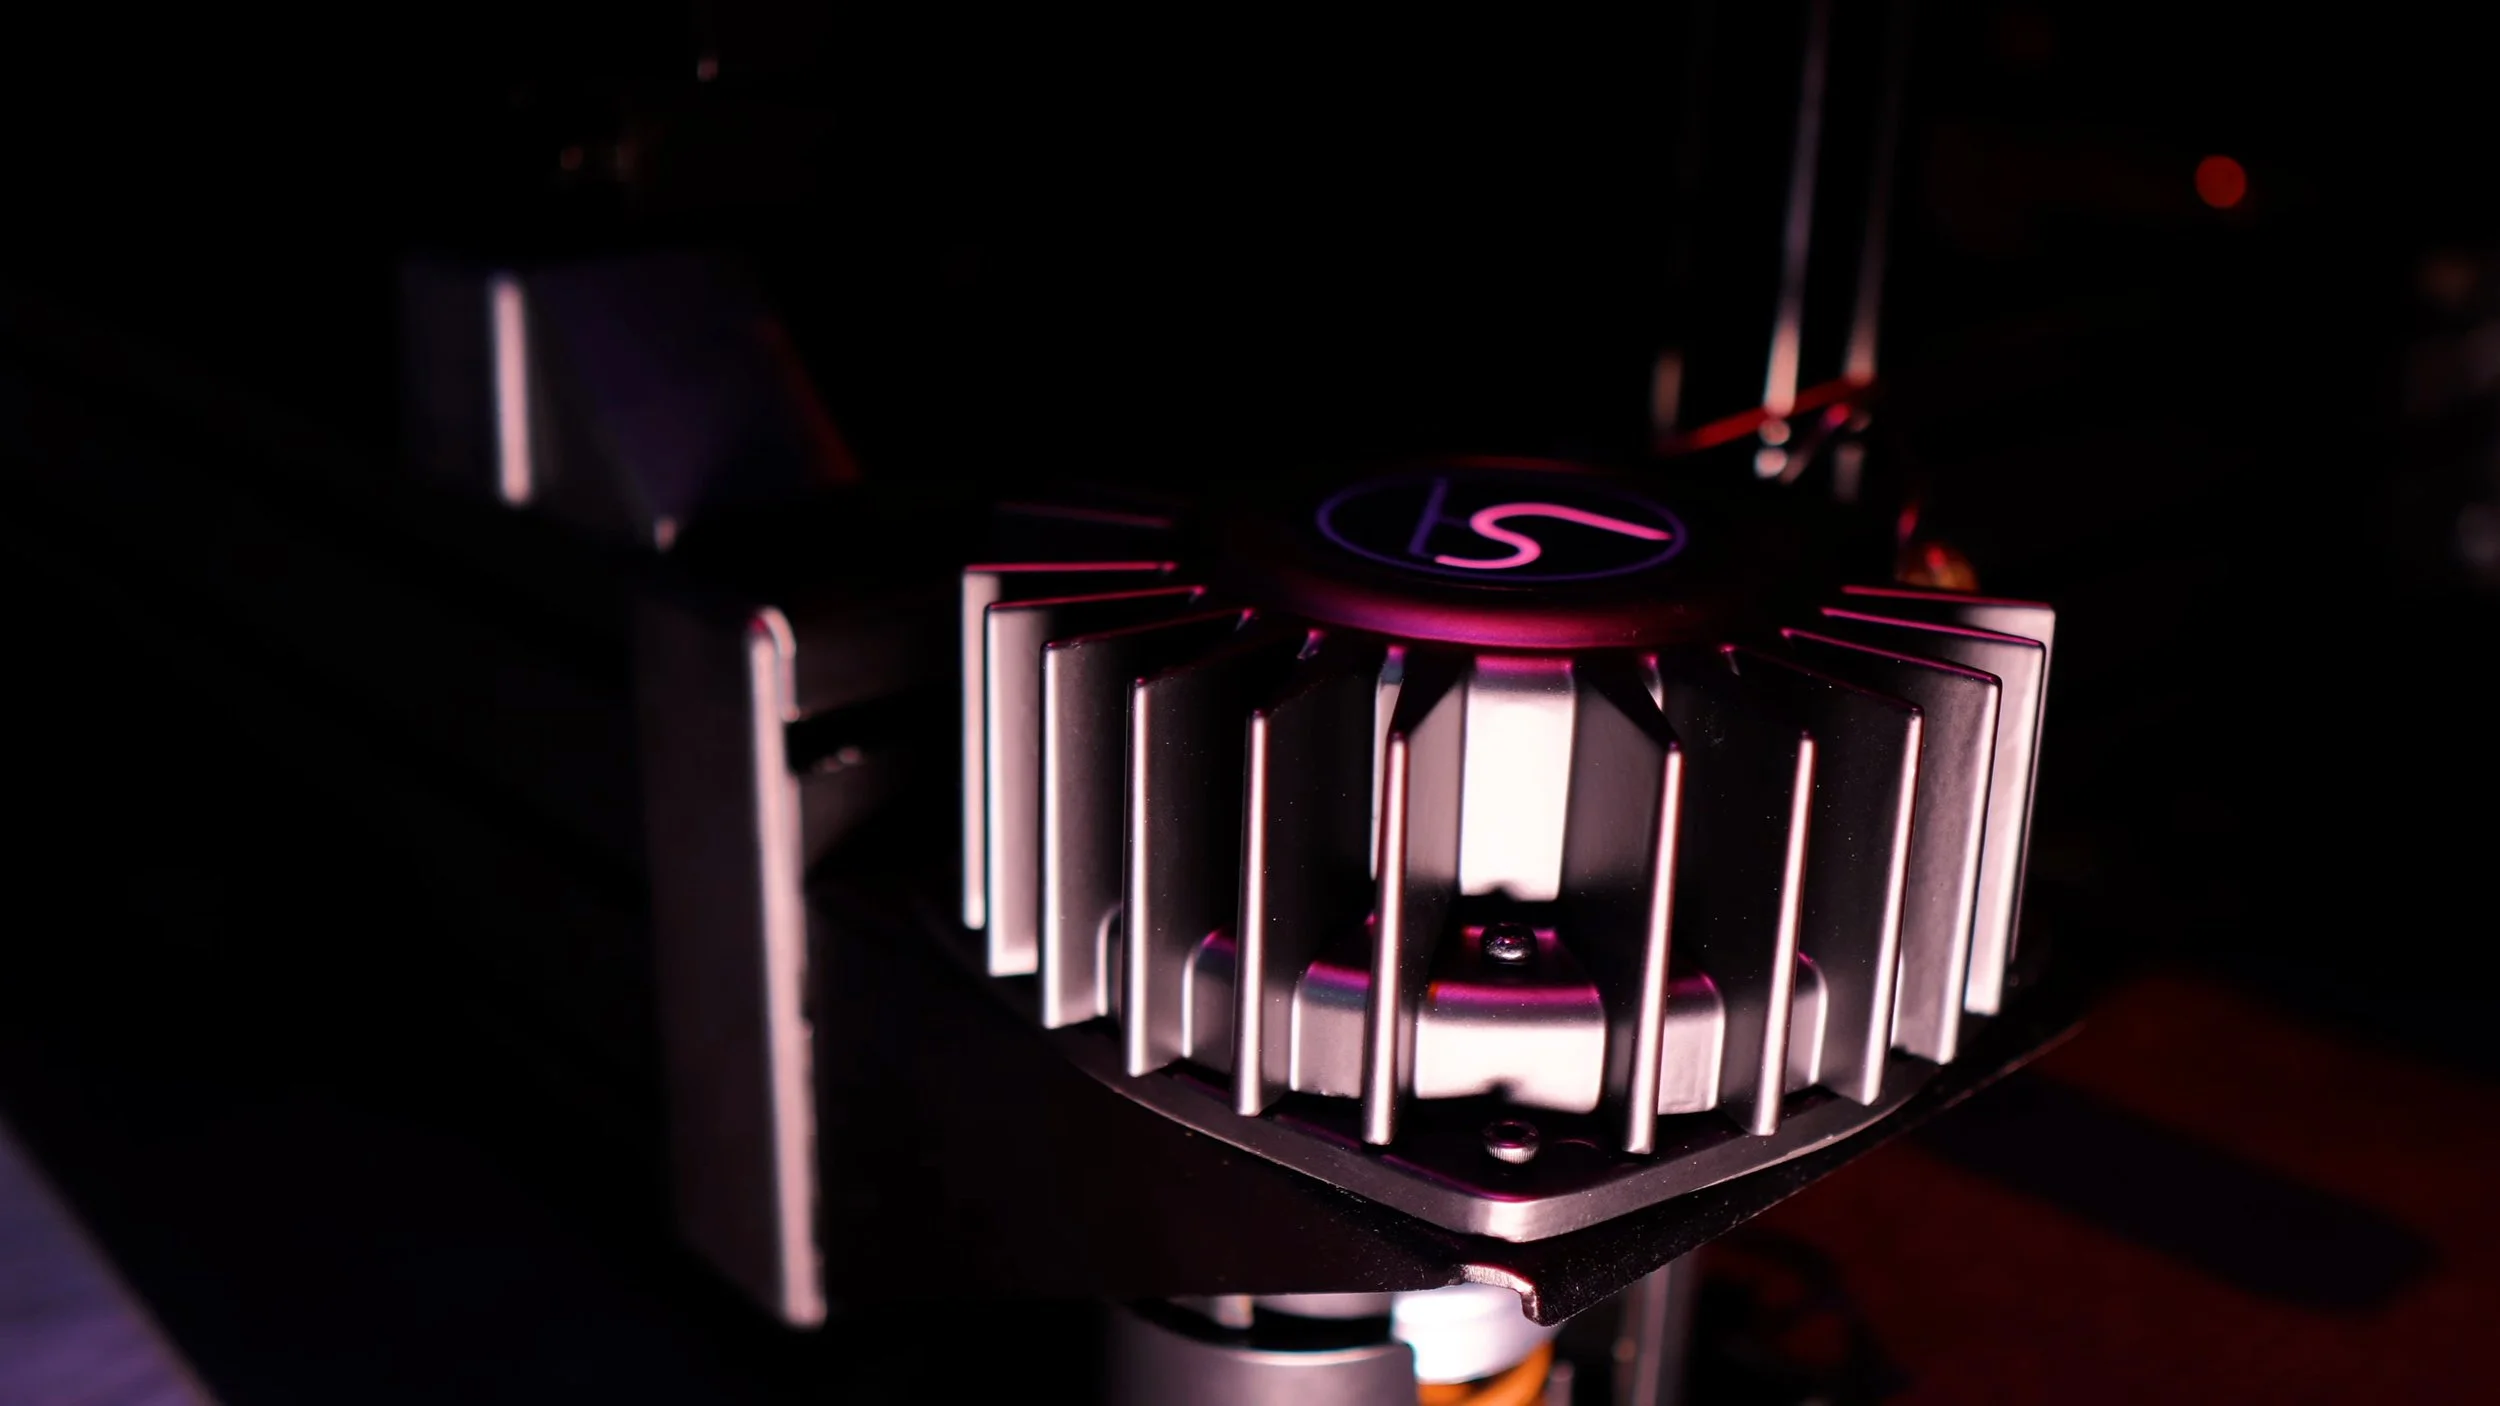
The reviewed kit included a four-channel amplifier with an integrated USB sound card, four tactile transducers, mounting hardware, spring isolators and wiring.
I installed it on my 6Sigma test rig. My main Advanced Sim Racing ASR Pro already had a ButtKicker Gamer Pro, while the test rig had no haptic effects before this installation.
That gave me a useful comparison between rigs, although it was not a controlled same-rig measurement of the two systems. My verdict reflects how those complete setups felt to me.
This was the four-channel, 200W kit. The current official listing still uses that description, but some component and mounting details have evolved since my original review.
Why the spring isolators interested me
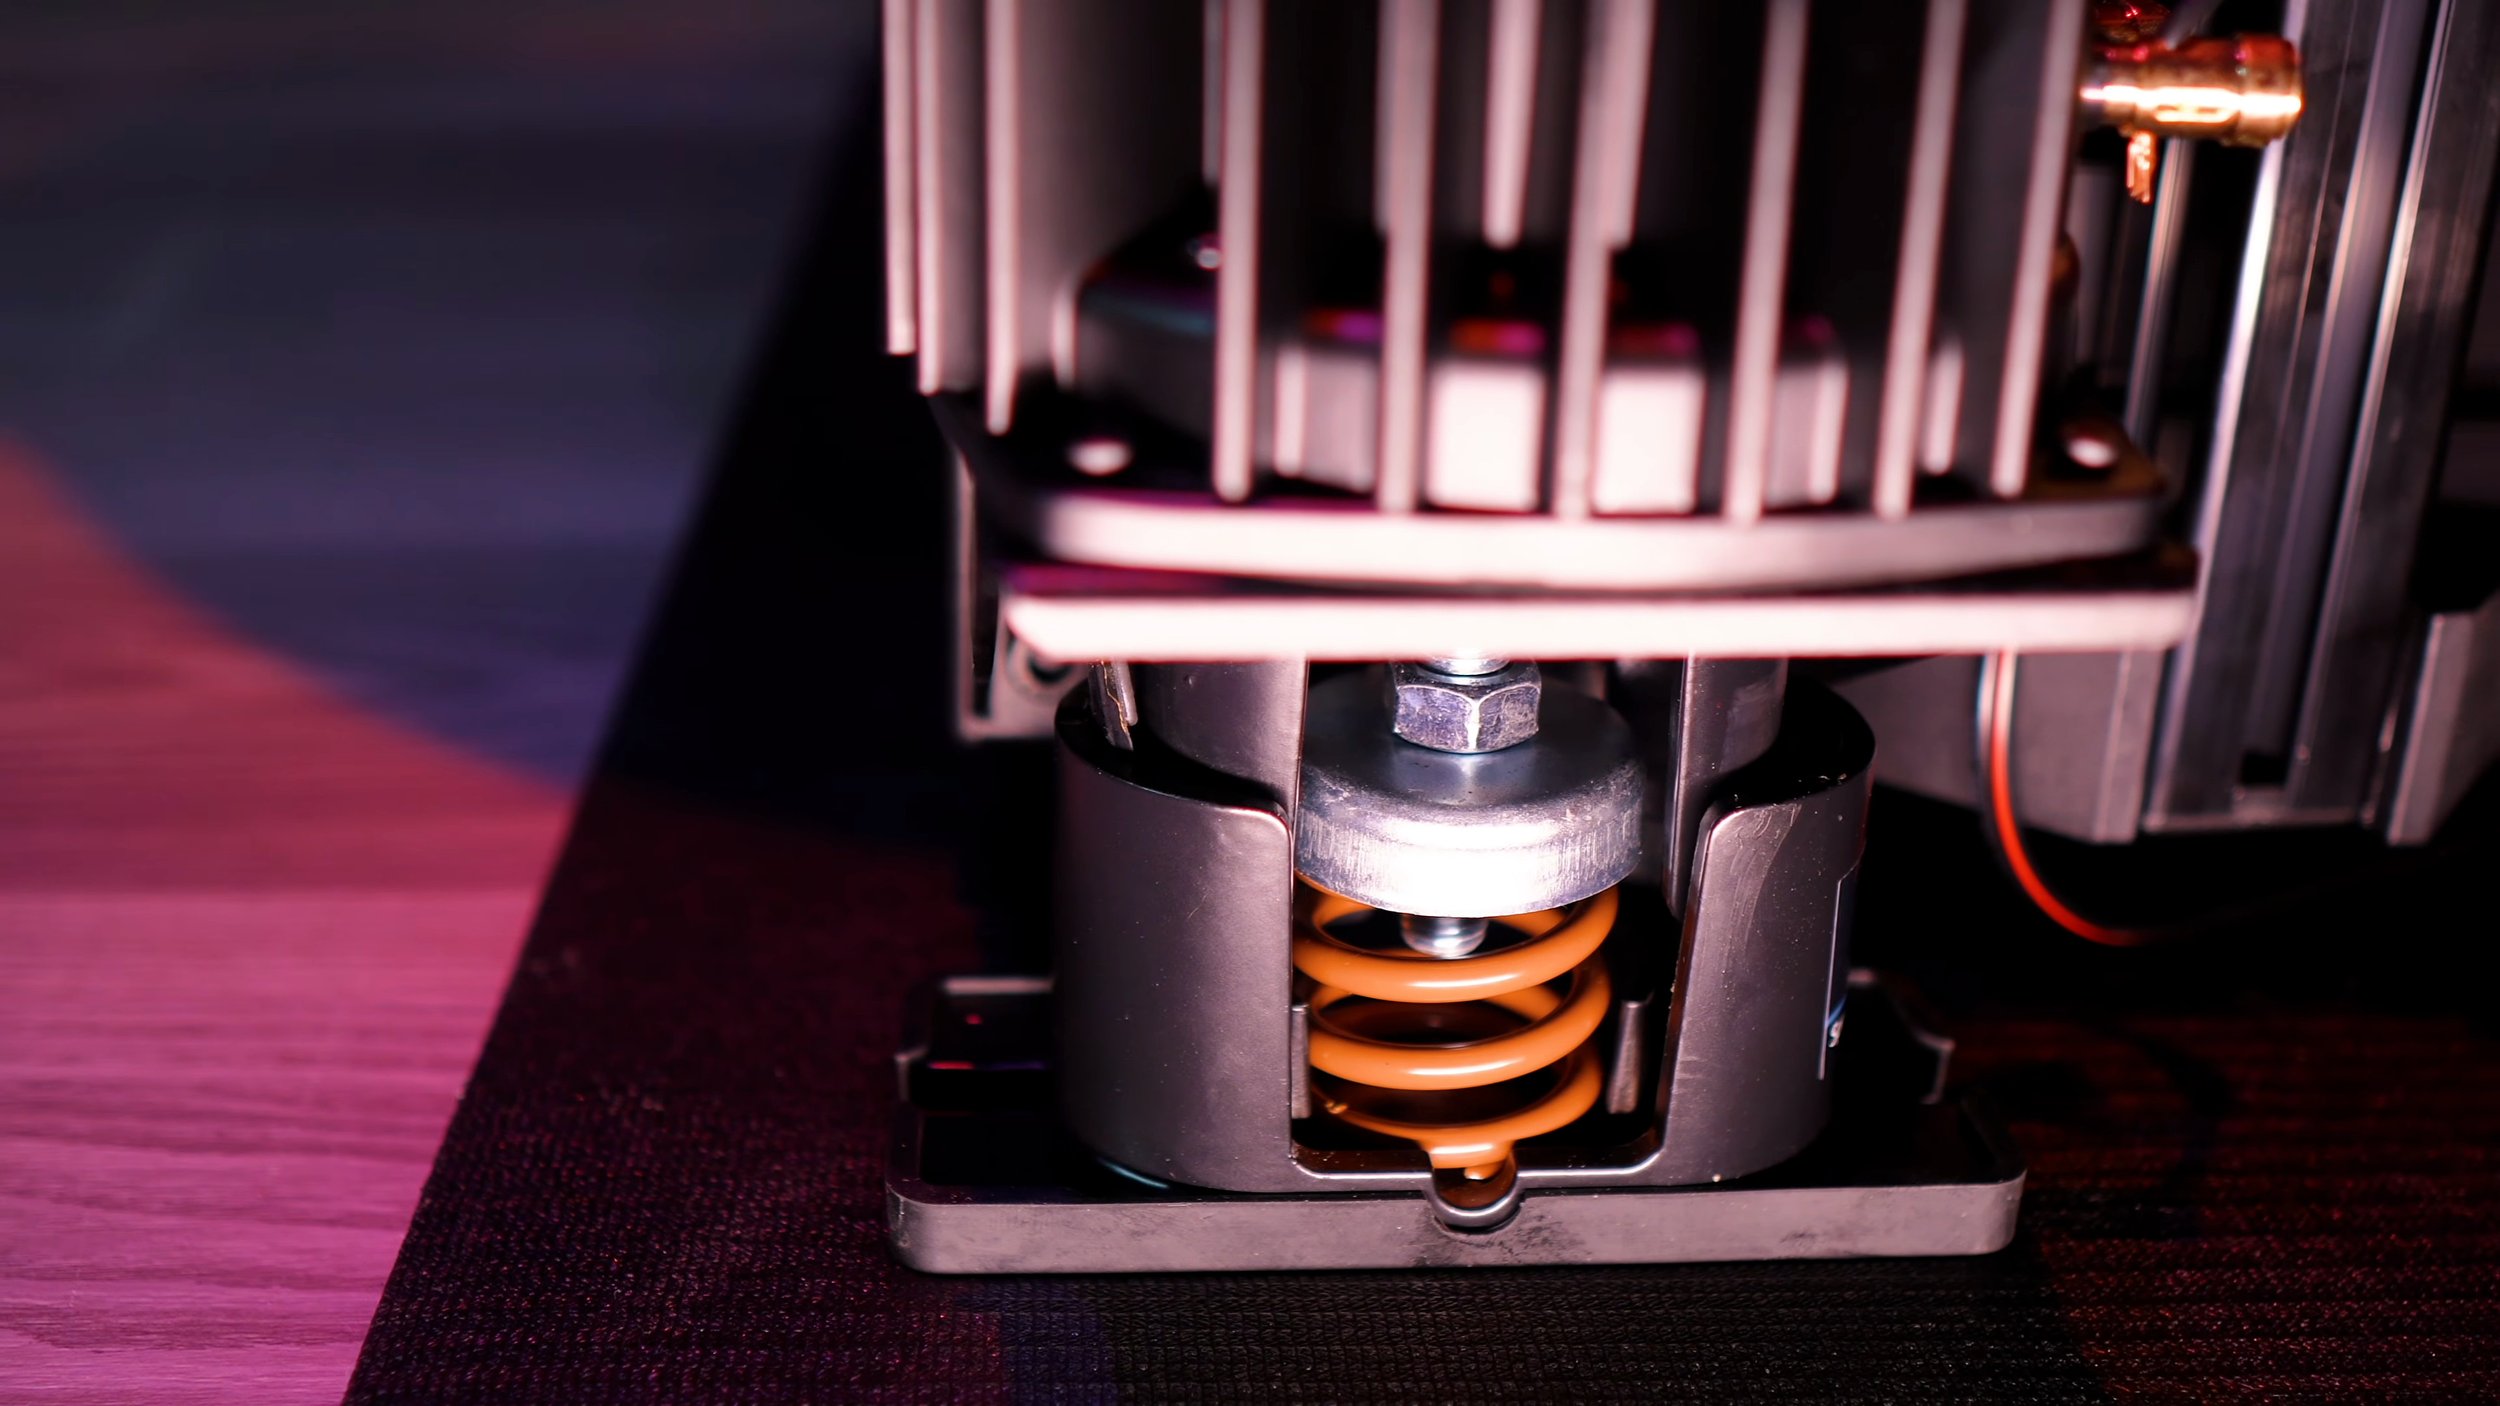
The unusual part was how the rig rested on the spring isolators. The idea was to reduce vibration passing into the floor and let more of the effect remain in the cockpit.
I recognised the general isolation concept from seeing springs used beneath heavy mechanical equipment. Applying it to a sim rig made sense to me once I understood what Slip-Angle was trying to achieve.
There was a small amount of movement as I got into the rig, then it settled under my weight. During driving, what I noticed was the quality of the vibration feedback.
It is still a bass-shaker system rather than an actuator-driven motion platform. The springs and transducers added physical cues without turning my cockpit into a full motion rig.
Installation took an afternoon’s attention
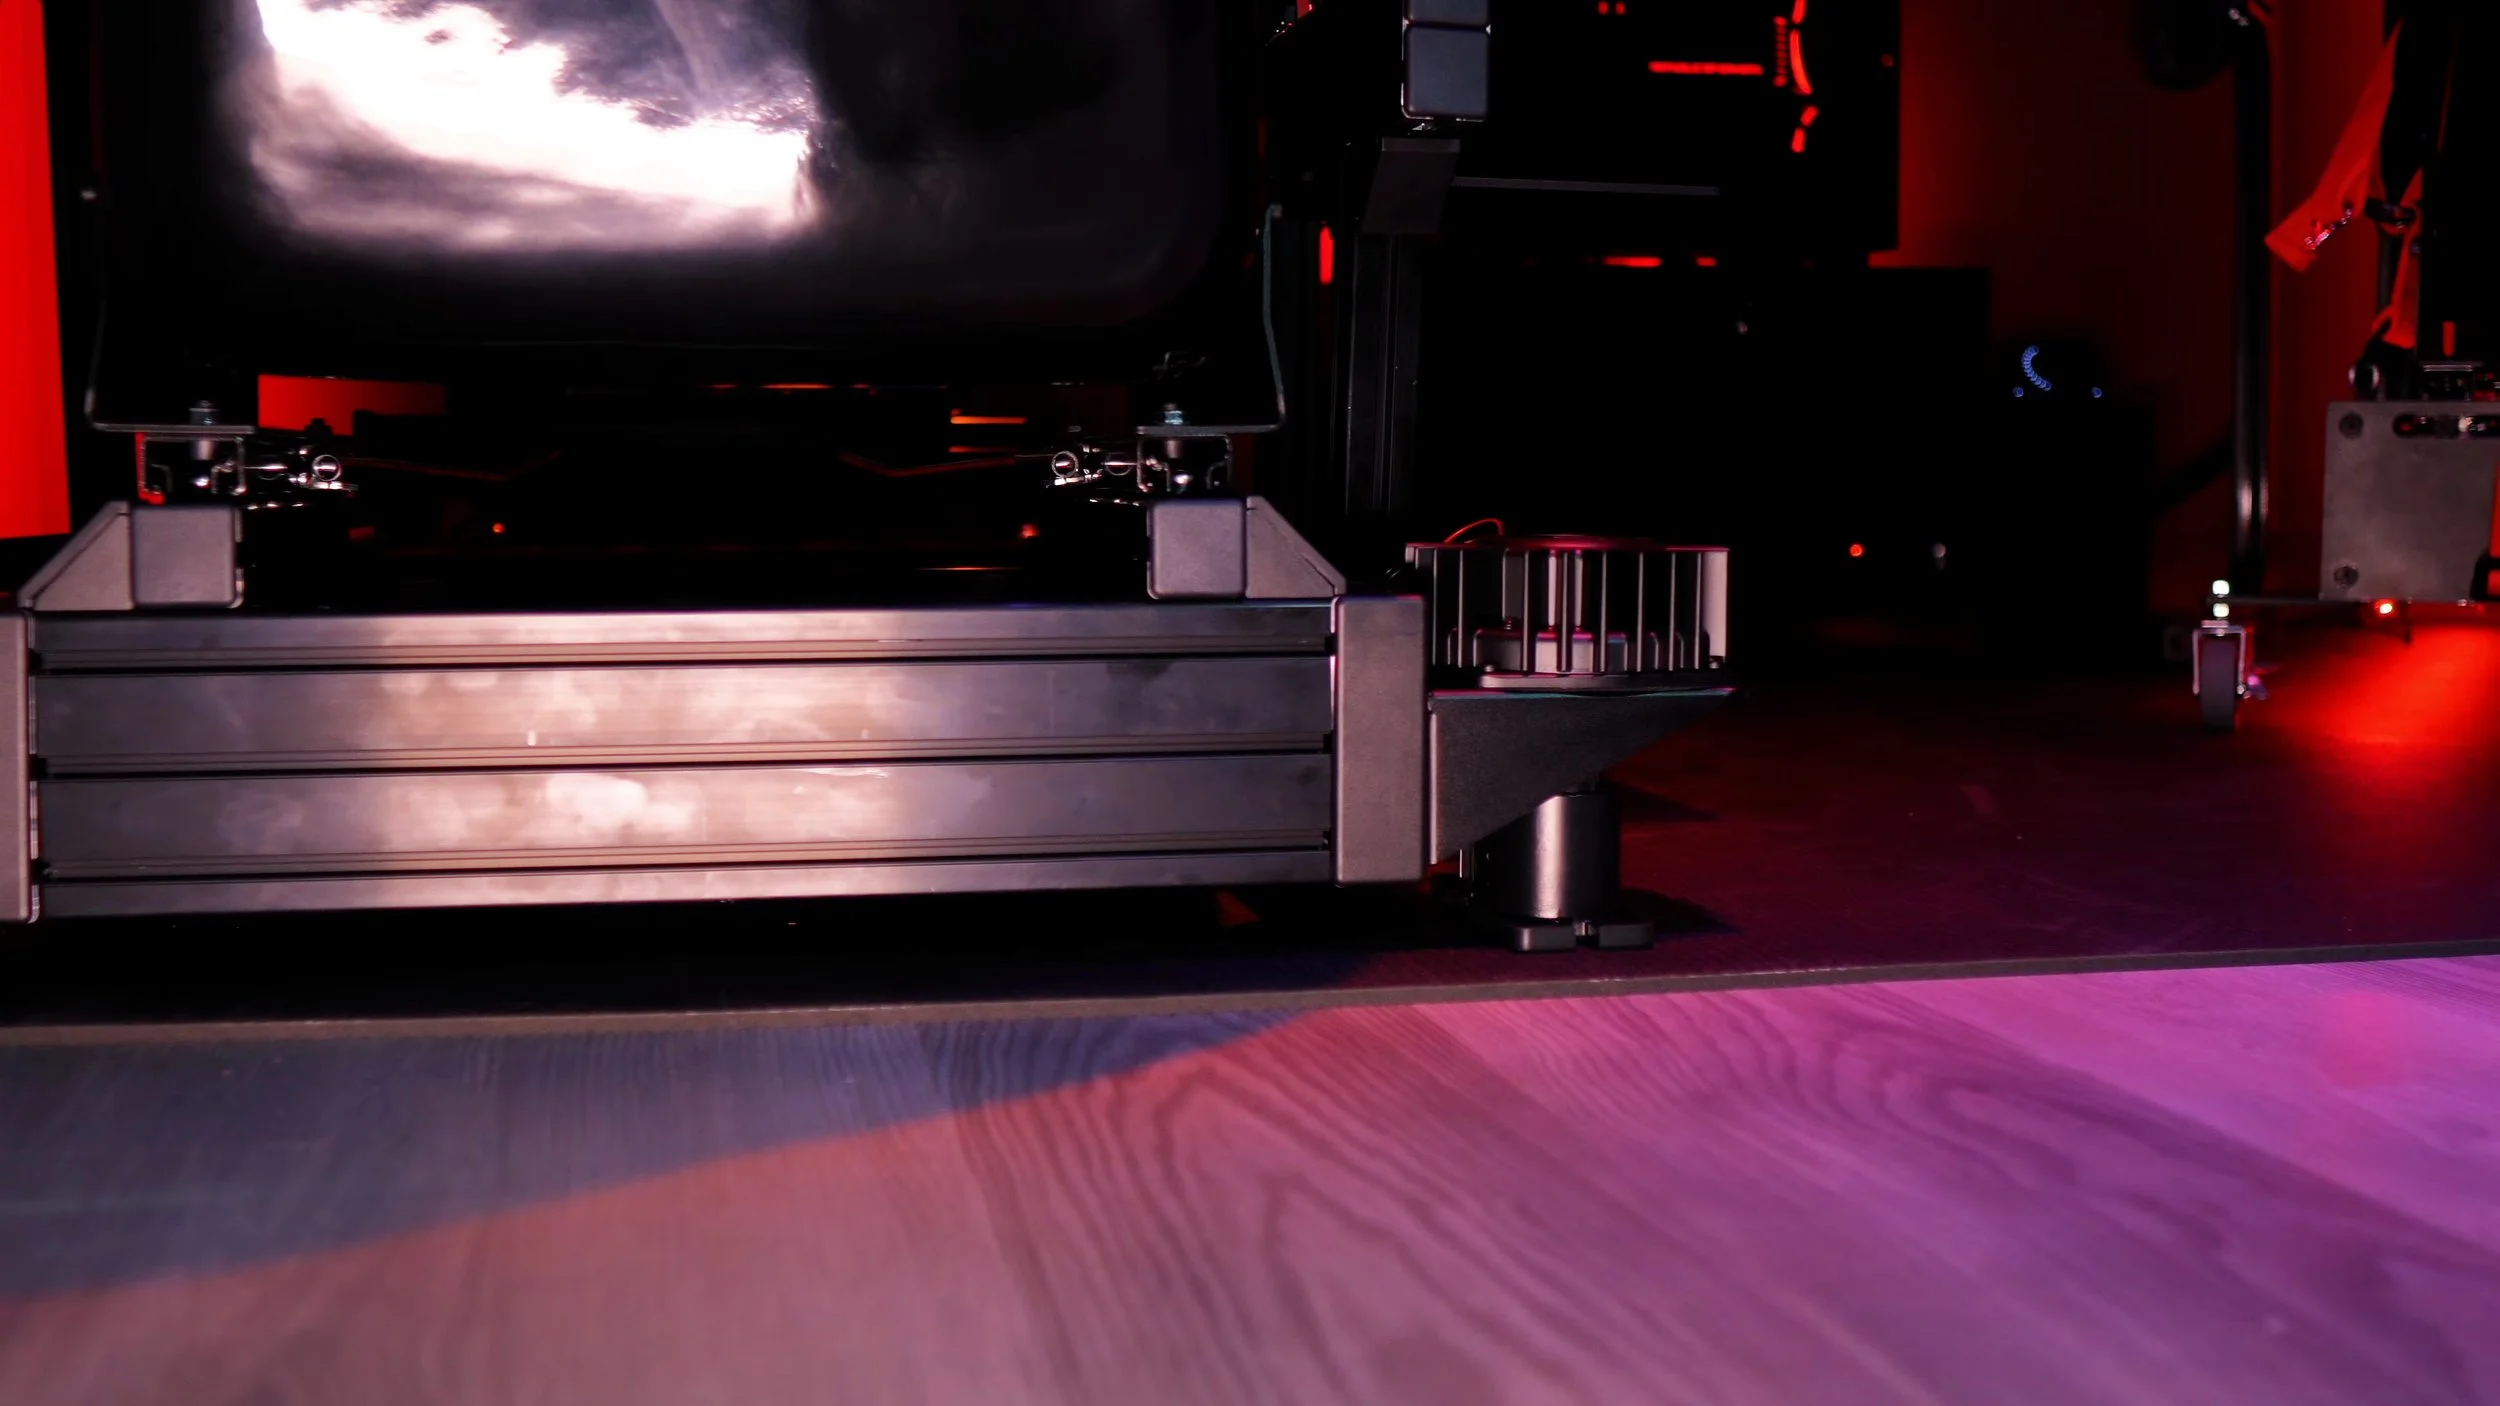
The work was not particularly complicated for me, but it was more than plugging in a USB accessory. Access around a heavy, already-equipped cockpit was the main consideration.
I had to fit the mounts and isolators, attach the transducers and route the speaker wires to the amplifier. The supplied parts covered my installation, apart from the tools used to prepare the wiring.
The amplifier connected back to the PC by USB and was recognised without difficulty in my setup. I then spent time tidying the wiring through the profile.
Allow time to work safely around the rig and follow the current mounting instructions for its weight and profile dimensions. My review is an account of the finished installation, not a substitute for supporting or lifting a loaded cockpit correctly.
Four channels did not mean four perfectly distinct sensations
Each transducer could receive a separate signal through SimHub. In principle, that lets effects be assigned to the front left, front right, rear left and rear right.
I experimented with those assignments, but found it difficult to feel a clearly isolated effect at every individual corner.
Front-to-rear separation was much easier for me to distinguish. I could feel when an effect came from the front or rear, and I liked kerb feedback progressing through the rig.
I also enjoyed using all four shakers for a gear-change thump. The system did not need perfect four-corner localisation to be convincing.
That distinction is a central part of my experience. I would buy it for the quality of the feedback I describe, rather than assume it guarantees precise identification of every wheel’s movement on every cockpit.
Finding a useful SimHub profile
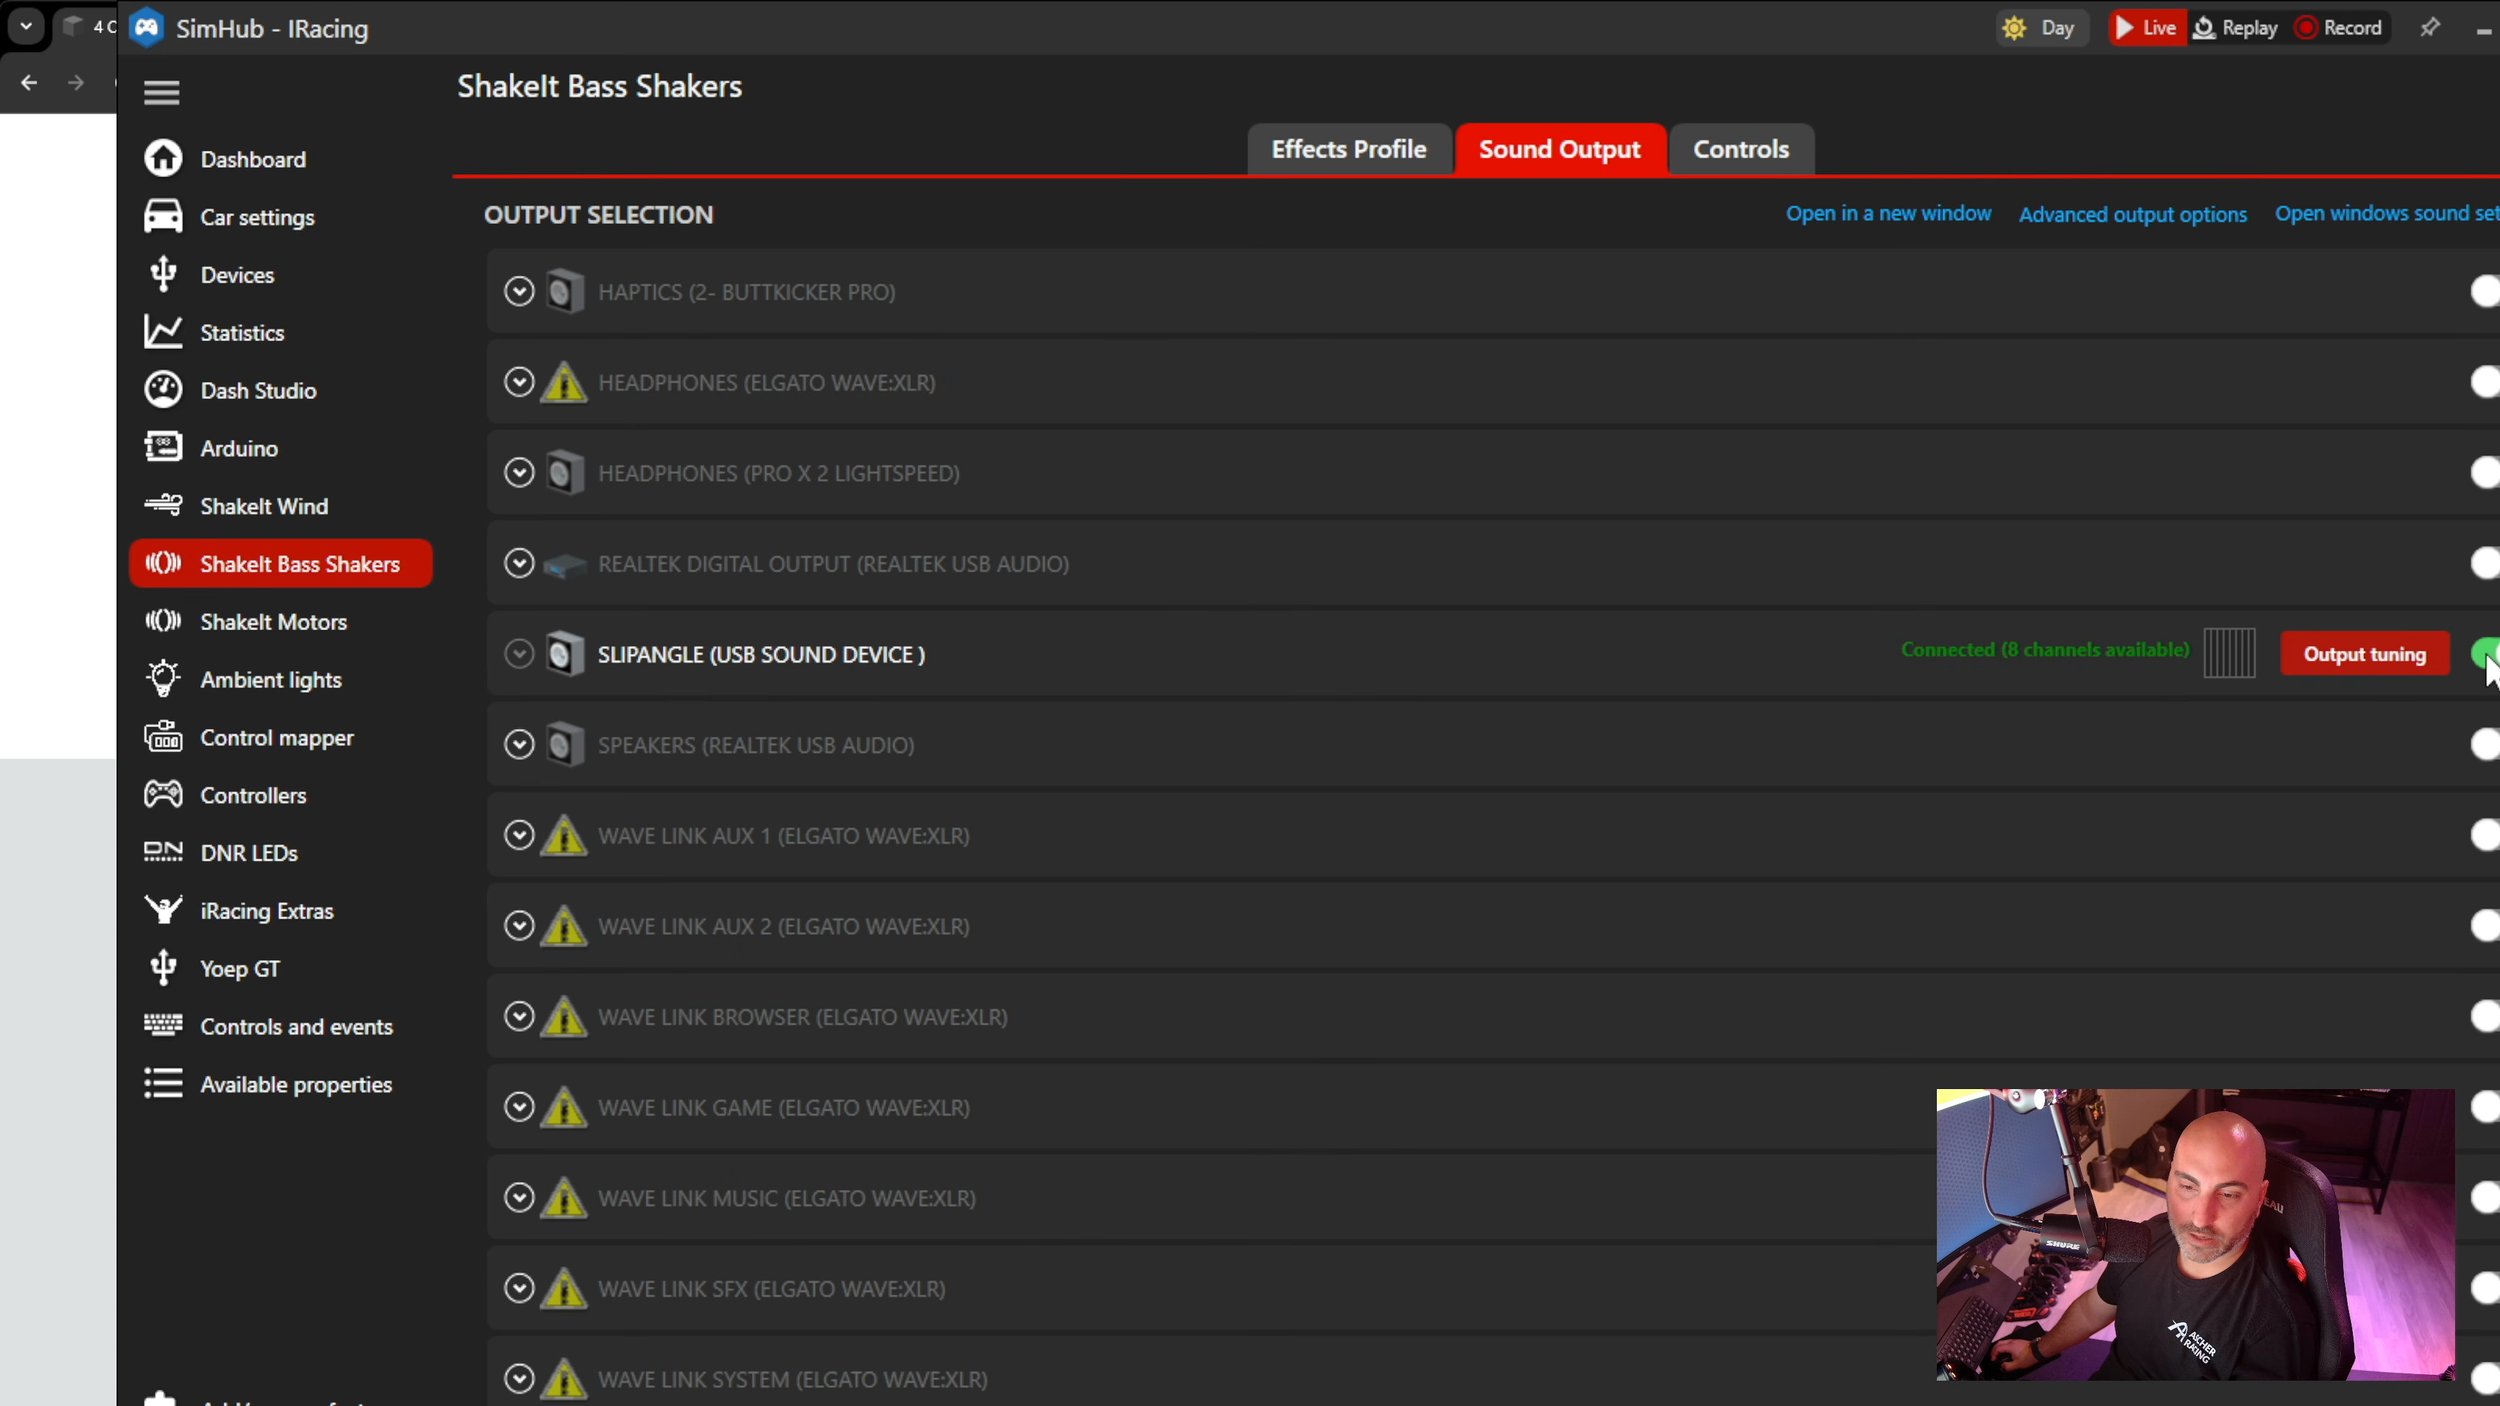
I configured the kit through SimHub’s bass-shaker output controls and started from a profile supplied by Slip-Angle.
After experimenting, I kept returning to a relatively small selection of effects. For my preferences, roughly four or five worked better than enabling a long list.
Too many overlapping effects made it harder to tell what I was feeling. With fewer active effects, the useful cues stood out more clearly.
Subtle engine vibration, gear shifts and road rumble formed the core of the experience. I also experimented with an additional road-vibration layer to keep a gentle sense of movement between the larger events.
Those choices suited my rig and the software available at the time. They are a description of my tuning, rather than a fixed recipe that every owner should copy.
The driving effects I enjoyed most
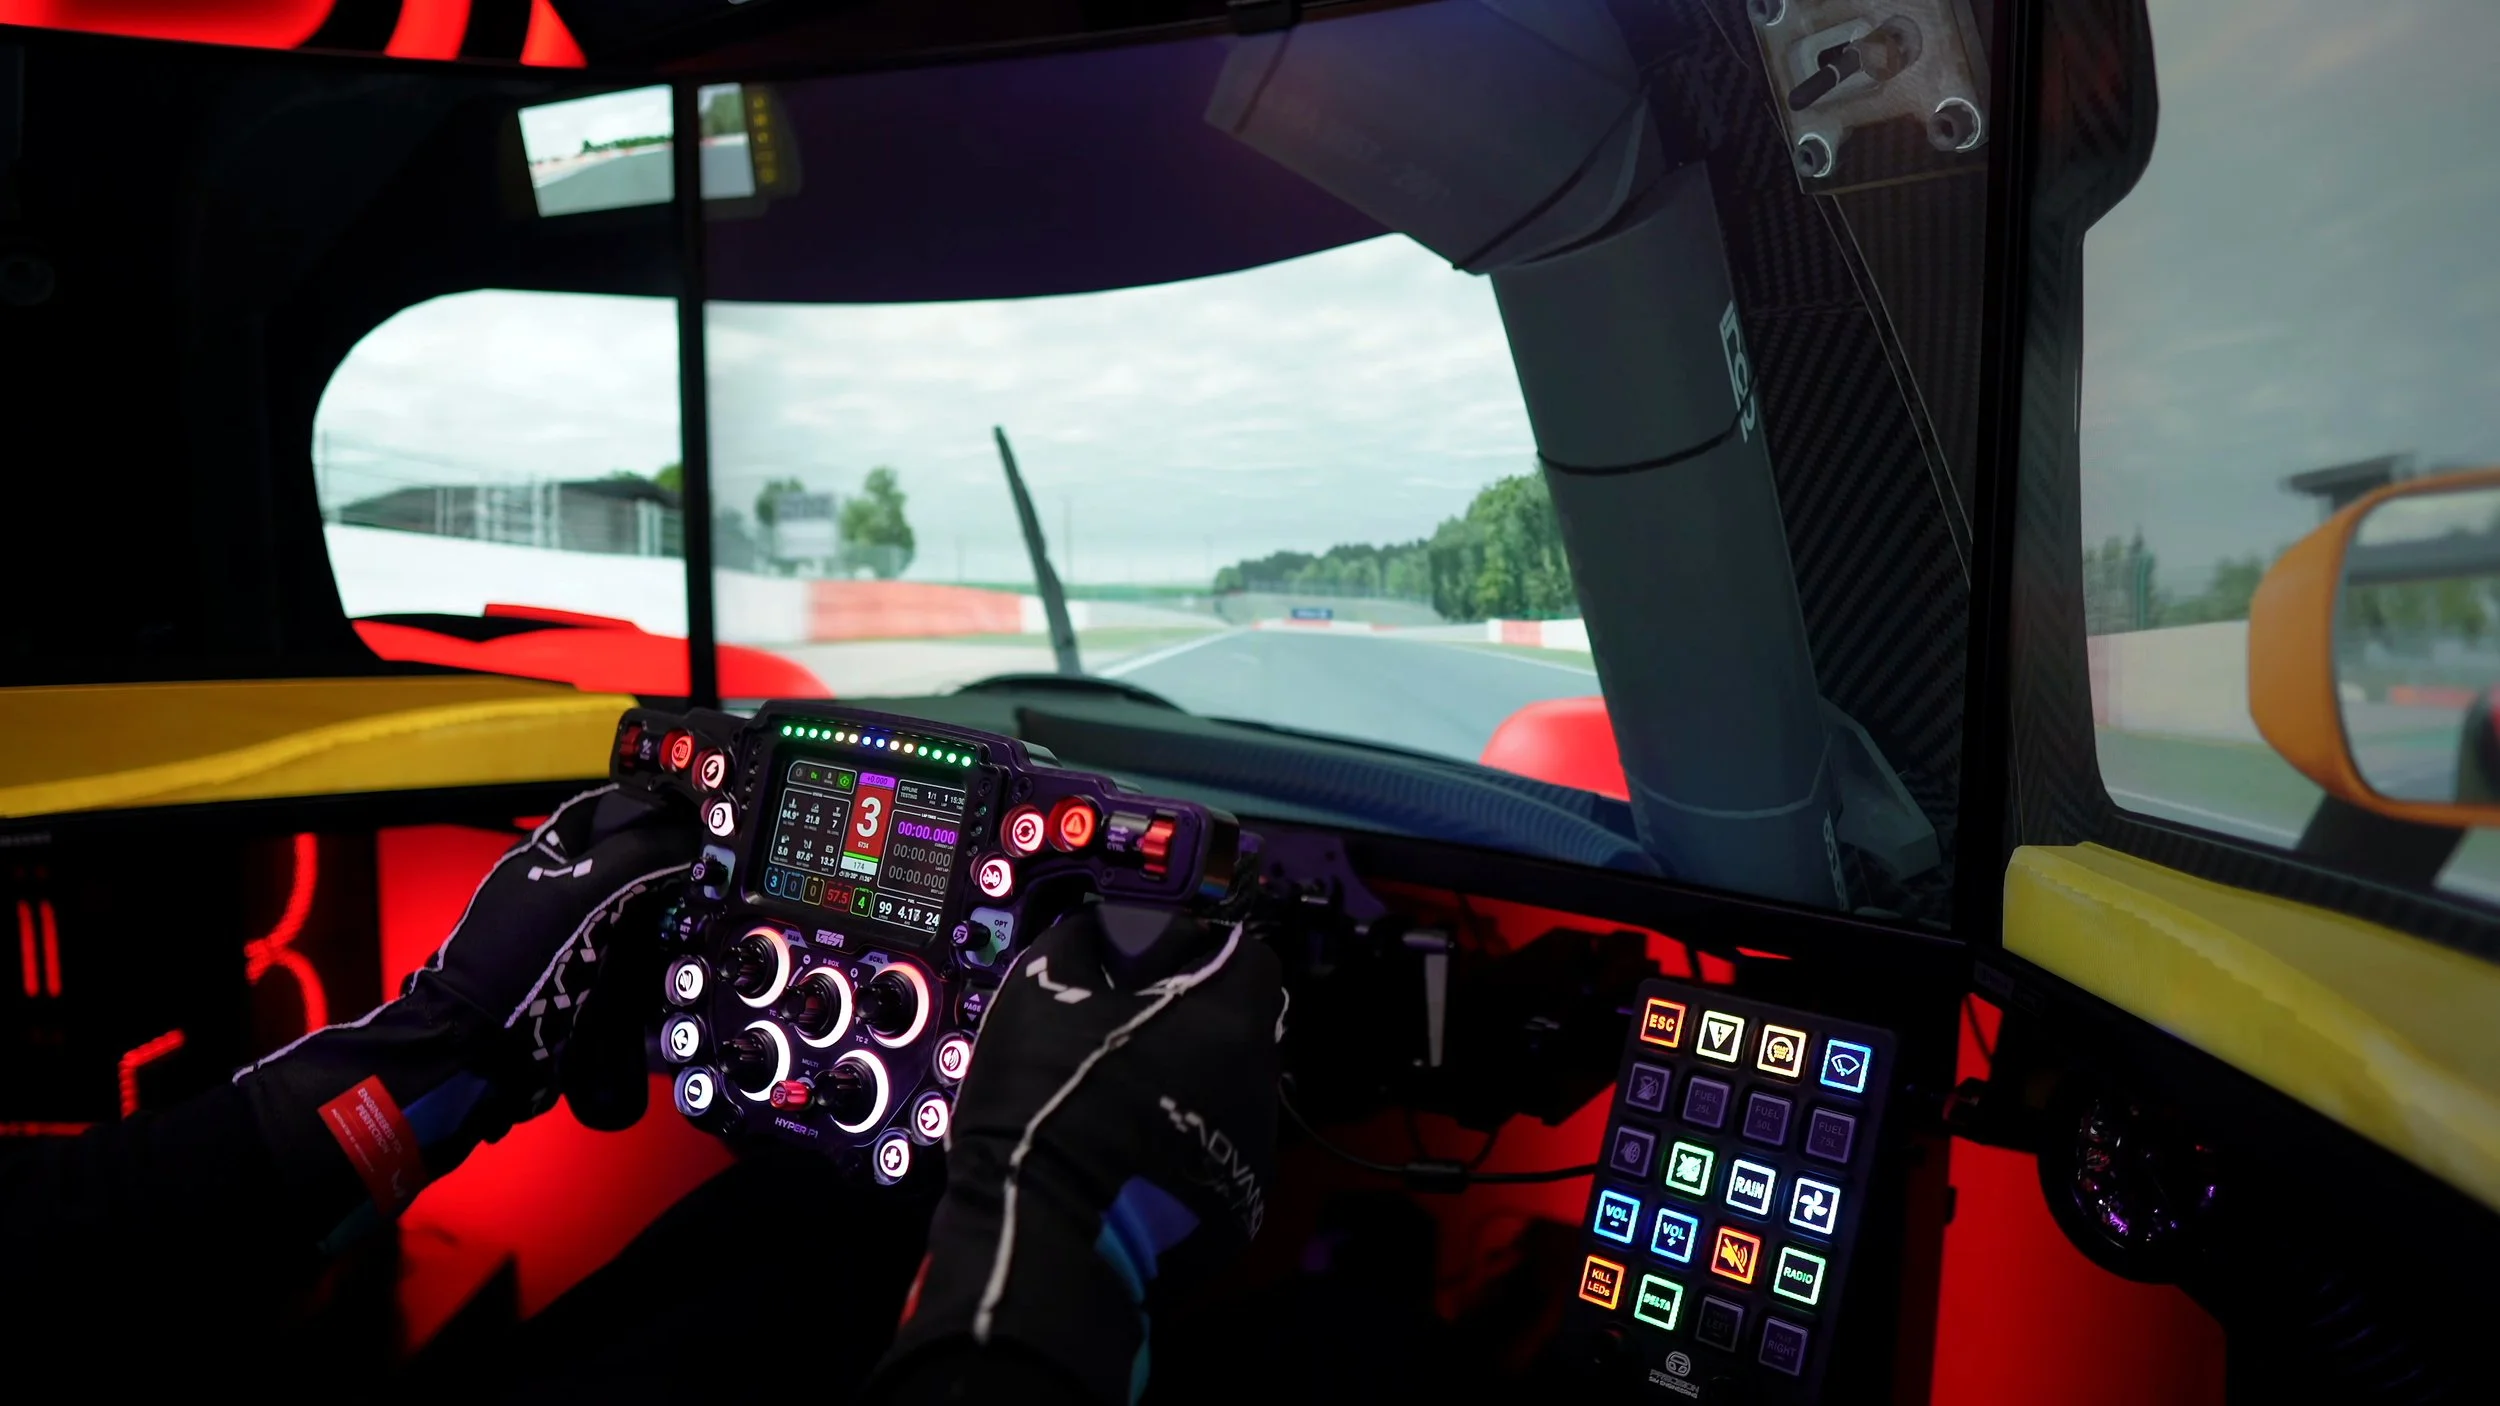
Gear changes were a highlight. The short thump through the rig made each shift feel more physical without needing to overwhelm the other feedback.
Kerbs and road-surface changes were equally important. I liked feeling the car run over rumble strips or move off the normal surface.
The subtler background vibration helped connect those larger events. It made the cockpit feel less static during stretches where there was no obvious kerb or gear-change cue.
Together with the force feedback from the wheelbase, the haptics gave the test rig a more complete feel. I had missed that layer every time I moved over from my main rig, and the Slip-Angle kit addressed it convincingly.
My comparison with the ButtKicker Gamer Pro
The Slip-Angle system felt stronger and cleaner to me in these setups. I could enjoy the effect without as much distracting noise as I experienced when turning up my ButtKicker Gamer Pro.
The springs appeared to do a good job of keeping the useful vibration in the rig. I heard relatively little unwanted noise during my test.
I did not measure floor transmission or sound levels, and these were different rigs. I would not promise silence in an upstairs room or claim that every installation will match mine.
What I can say is that the complete Slip-Angle setup felt like a meaningful improvement to my enjoyment. It was not a subtle change I had to search for while driving.
Space and appearance
The transducers projected beyond the sides of my test rig. That gave it a slightly unusual appearance, and I would have liked the hardware to take up less room.
I had to check their position relative to my monitor stand. Clearance around the cockpit matters, especially if other equipment sits close to its sides.
The current overview describes revised mounts and a reduced footprint. Those later details should be checked against your rig directly; my original observations concern the hardware I installed in 2024.
Once fitted, the appearance was a minor complaint compared with how much I enjoyed the feedback. Installation space is the more useful thing to assess before ordering.
Original price and my verdict
The video discussed a $575 kit price before shipping and taxes. Use the current official listing for your region’s complete cost, delivery method and included components.
It is possible to assemble a haptic system from separate parts. What appealed to me here was having the amplifier, transducers, isolation mounts and wiring designed as a package, with one supplier to contact.
I valued the time that saved as well as the result. After fitting it to the test rig, I wanted another kit for the main rig instead of moving this one back and forth.
The installation effort, side clearance and imperfect four-corner separation belong in the verdict. So does the fact that this was one of the upgrades I found hardest to imagine removing after I had tried it.
For my setup, the Slip-Angle kit made racing more engaging through convincing gear shifts, road effects and a cleaner-feeling layer of vibration. That was the reason for my enthusiasm.
Explore the four-corner shaker kit.
The manufacturer currently labels this listing as the 200W four-corner kit. Check the supplied hardware, mounting requirements and delivery terms before ordering.
View the official 200W kit listingThis is a direct manufacturer link, not an affiliate link.
Confirm taxes, shipping and any required accessories at checkout.
About this article: Adapted from the spoken observations in my original video review. Driving impressions refer to the original review period. The current 200W overview and linked official store listing were checked. Current revisions are not presented as hardware I tested in 2024.
Back to top ↑